Did you ever wish your living room was an arcade? Would you like to be able to impress friends and family with a good-looking entertainment center that can be lots of fun too? If so, this article is for you.
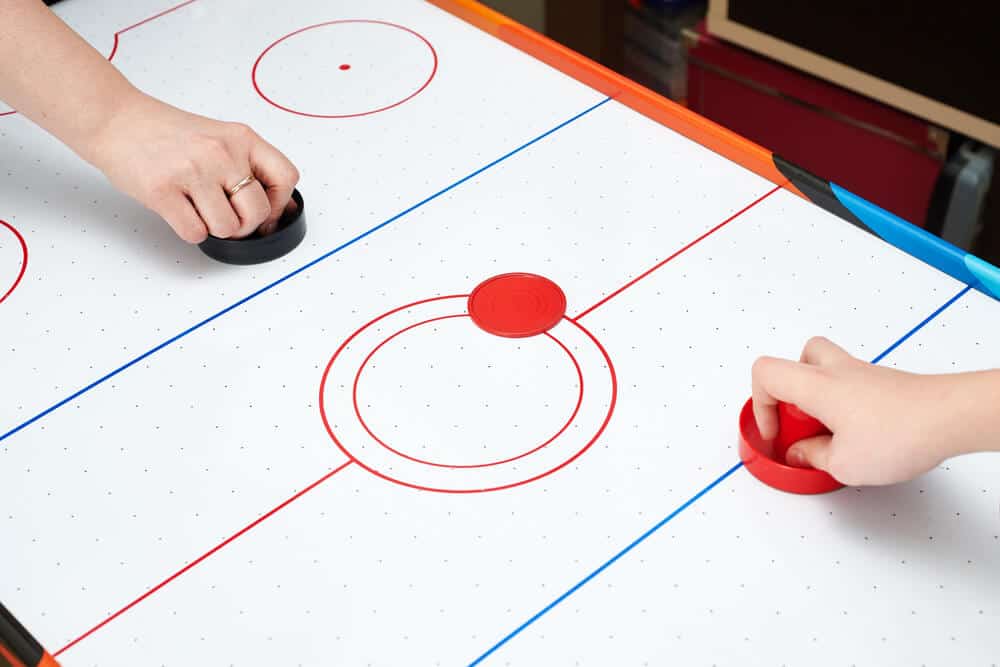
An air hockey table is one of the least expensive ways to bring the excitement of real competition into your home without spending thousands of dollars on electronic equipment (read about air hockey equipment list). This article will show how easy it is to build a beautiful wooden air hockey table that will amaze people. And it won’t cost nearly as much as what you would spend at a pizza parlor for two or three games.
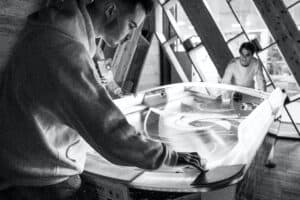
The design shown here features mitered corners on all sides and mitered rails on top and bottom. It’s simple, yet it looks great. The dimensions are precise and the cuts are easy to make with standard tools.
This design has the advantage of not requiring any support for the top rails or bottom border–the excess material is routed away after assembly (no screws needed). Sturdy legs raise the table about eight inches off the floor. If you like, you can make them adjustable to level your playing surface when you get ready to play. Even if I was just building this for myself, I would definitely include that feature–it’ll save wear and tear on your carpeting over time when you’re changing up the height to accommodate different players. This one’s a keeper!
Gather Your Supplies To begin
you will need: 1 sheet of ¾” plywood (although solid wood is preferable, if you use the plywood you will be able to cut one sheet into three identical pieces and it’s cheaper than buying a 4×8 sheet of solid wood)
1 section of 2×4 (for the legs) and two more for the corners (you will need to make those cuts as shown on the diagrams below)
One or two gate hinges for each corner (if your local hardware store doesn’t stock them, try garage sales–they sometimes turn up cheap there). On this table I used gate hinges because they look great and hold up very well. Other types of cabinet hinges work too; but they may not stay tight as long. You can substitute them if you like. But don’t use T-hinges; they are not strong enough to hold up under hard play.
1 quart of polyurethane finish in your choice of color (I recommend using semi-gloss because it will show the wood grain nicely). You can also substitute this with paint or stain if you like, but I prefer the natural look of raw urethane.
Can you build your own air hockey table?
Absolutely! The materials are not too expensive, and the design is simple enough. It does require a little time to cut out all the pieces, but nothing too difficult. The first part of this article explains how to build your own air hockey table from scratch .
Step 1: Rip down plywood into strips that are 2 inches wide You can easily do this with a good table saw — you’ll end up getting three strips out of each sheet because you’re making three boards out of it. I recommend wearing hearing protection when using tools like saws or routers because loud sounds can damage your hearing–even if only for the short term at first. Also wear eye protection so splinters don’t blind you while you work! It’s also a good idea to wear a dust mask when working with tools like this. Saw, router, or sanding debris can cause long-term respiratory damage if you breathe enough of it. Don’t give yourself something to regret later in life!
Step 2: Rout out the border on all pieces Start by fitting the blade for your router into the chuck so it sticks out about 3/8″ or so. Make sure it’s tight in there too, otherwise that little bump might fly off and hit someone in the face–or worse yet, put your eye out. Next, use a pencil to mark all around where each board will connect to another one–you’ll need these reference marks when you’re finished routingsee below). Now get ready to rout, and remember to take your time–this step requires patience and attention to detail! Start with the end that will be closest to the corner.
Step 3: Glue pieces together as shown You can use wood glue (or any other type of white carpenter’s glue) for this, but I found it is better to use liquid nails instead because it doesn’t dry out so quickly. It allows you a little more time to adjust things before they stick permanently. Make sure you apply liquid nails only where the pieces will touch each other–otherwise it will ooze up through your finish later and show on top of your table. All you need is enough liquid nails applied under every joint so the boards stay firmly in place until the glue dries.
Step 4: Screw the pieces into place If you don’t have a pneumatic stapler, use at least three screws on each corner of every piece. Drill pilot holes first to avoid splitting the wood. Make sure you space them out so there is no play between boards–tight joints are important because they will prevent the table from warping over time! Use your drill to countersink each hole slightly; this way the screw heads will be flush with the surface and won’t snag anyone’s clothing during game play later.
Step 5: Cut bottom board (optional) If you want an extra smooth finish on top of your table or if you plan to sand it before or after finishing it, then cut down the bottom board so it doesn’t connect all the way to the sides. This will require fewer screws and a heck of a lot less sanding later on.
Step 6: Sand pieces down Make sure you’ve removed all pencil marks and clean up any sawdust or wood shavings too–you don’t want particles in your finish when it’s applied, because they can create air bubbles that ruin your look. You also want to round off each edge–don’t make them sharp because players might get hurt! Round the corners too; otherwise when someone falls onto one they’ll either bleed or tear their clothing.